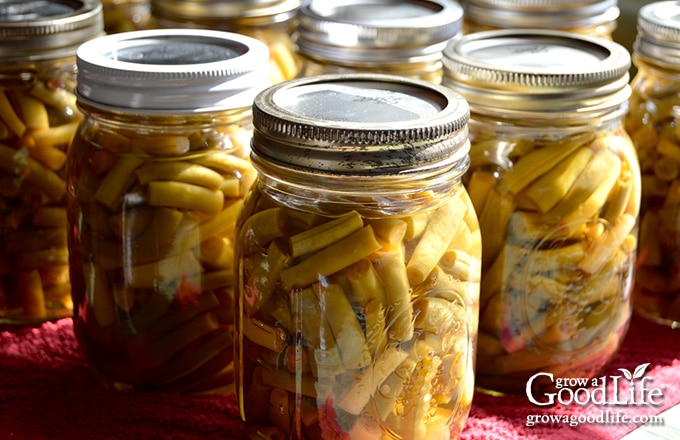
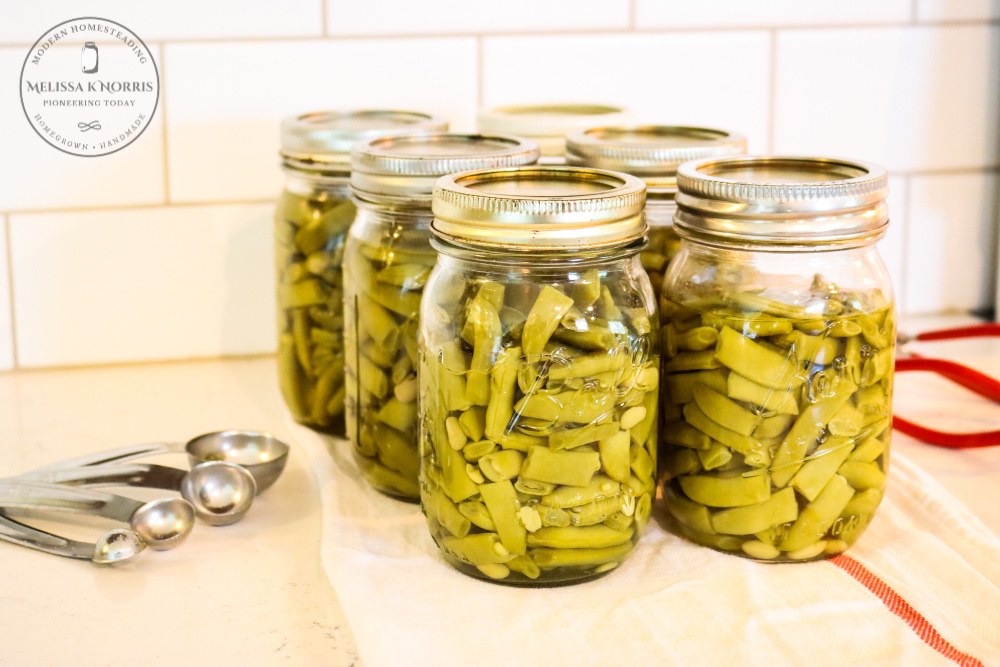
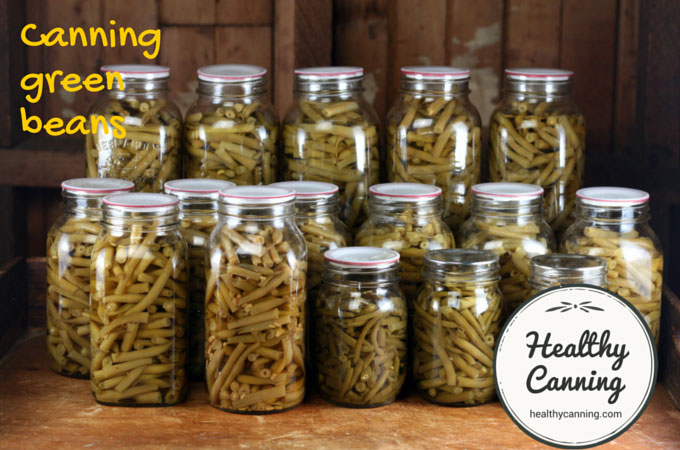
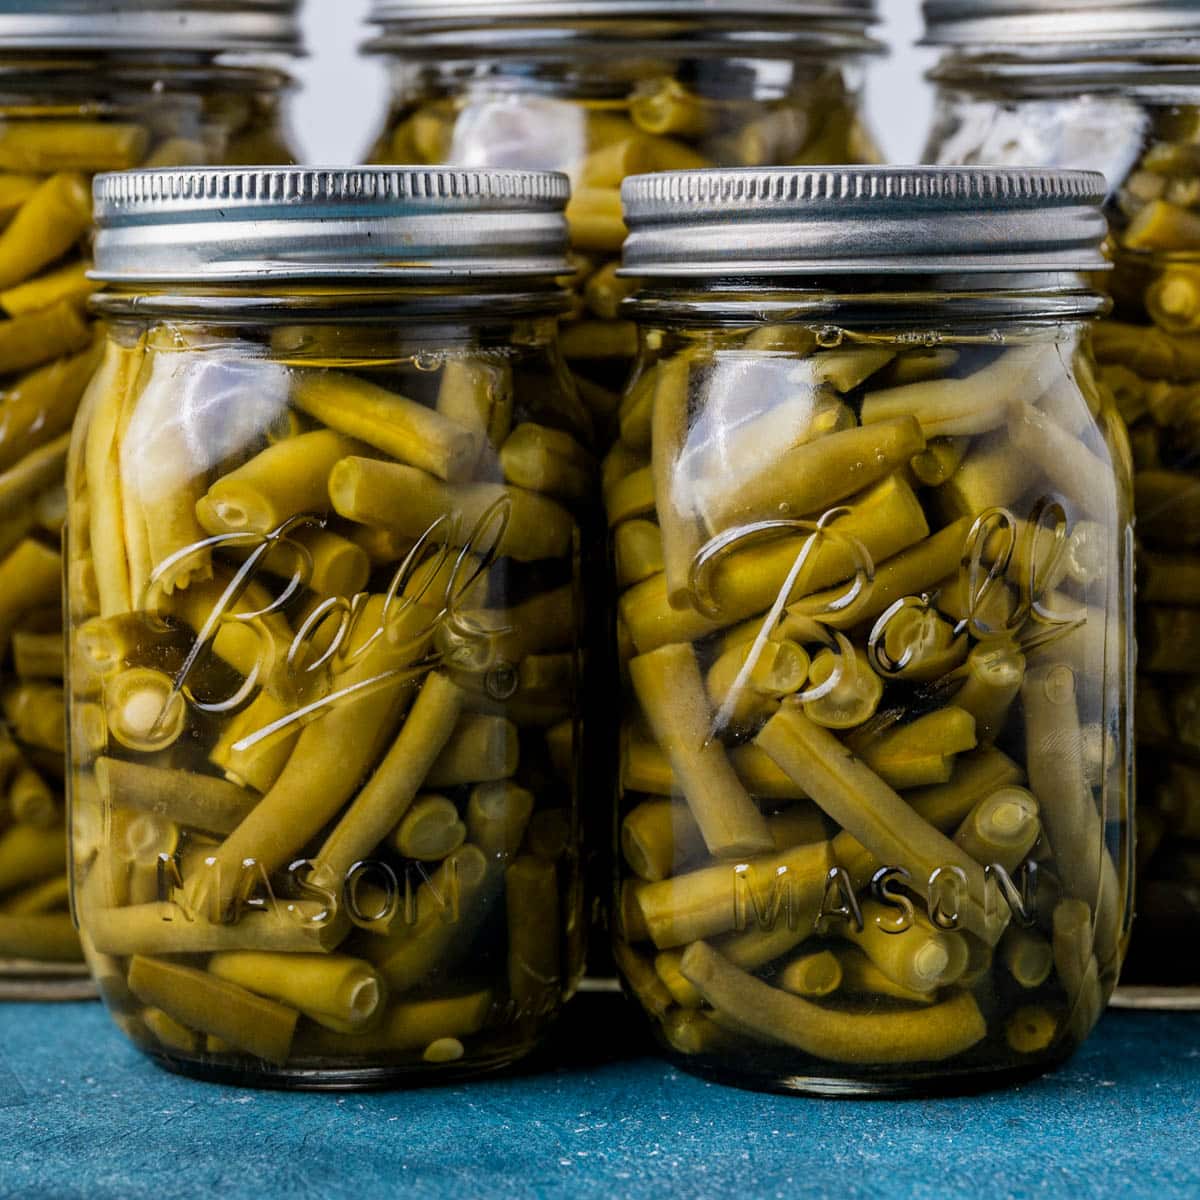
Canning green beans at home - learn how and preserve their freshness and flavor. Follow these step-by-step instructions and get a delicious canning recipe.
If you've ever wanted to try preserving your own vegetables, canning green beans is a great place to start. I will provide you with some helpful information to get you started, as well as a home-style recipe for canning green beans at the end of the article.
Canning green beans is a simple and effective way to preserve the freshness and flavor of your beans. In the first step, you will need to prepare your beans by washing and trimming them. Then, you will blanch them in boiling water to preserve their color and texture. Next, you will pack the beans tightly into sterilized jars and cover them with hot water. Finally, you'll process the jars in a pressure canner to ensure they are safely preserved. Don't worry, I'll walk you through each step in detail and provide you with the recipe so you can enjoy your home-canned green beans all year round.
Canning Green Beans at Home - Canning Green Beans Recipe
Canning green beans at home is a great way to preserve the freshness and nutritional value of this popular vegetable. Not only does canning ensure that you have a ready supply of green beans throughout the year, but it can also save you money in the long run. In this article, we will explore the benefits of canning green beans, provide step-by-step instructions on how to can them at home, and offer a delicious recipe for canned green beans.
Benefits of Canning Green Beans
Retaining Nutritional Value
One of the main advantages of canning green beans is the retention of their nutritional value. Green beans are a good source of vitamins A, C, and K, as well as dietary fiber. When properly canned, the vegetables maintain their vitamins and minerals, making them a healthy addition to any meal.
Prolonged Shelf Life
Canning green beans also extends their shelf life significantly. Fresh green beans have a relatively short lifespan and can spoil quickly if not consumed or preserved promptly. By canning them, you can enjoy their freshness for up to a year, ensuring that you always have a supply of this nutritious vegetable on hand.
Discover how you can be self-sufficient on a 1/4 acre backyard
Convenience and Cost-effectiveness
Canned green beans offer convenience and cost-effectiveness. Having jars of canned green beans in your pantry means that you can whip up a nutritious meal in no time. Additionally, canning your own green beans allows you to control exactly what goes into the jars, avoiding preservatives and excessive sodium commonly found in store-bought canned vegetables. Furthermore, canning green beans can be more cost-effective in the long run, especially if you have access to fresh, inexpensive green beans during peak harvest seasons.
Choosing the Right Green Beans to Can
Freshness and Quality
When it comes to canning green beans, selecting fresh and high-quality beans is essential. Look for green beans that are firm, vibrant in color, and free from blemishes or signs of decay. You should also choose beans that are relatively uniform in size, as this will ensure even cooking and canning.
Type of Green Beans
There are various types of green beans, including snap beans and pole beans. Snap beans, which include varieties like Blue Lake and Kentucky Wonder, are the most commonly canned variety due to their tender texture and excellent flavor. However, you can experiment with different varieties to find the taste and texture you prefer.
Preparing the Green Beans
Before canning, it's important to prepare the green beans properly. Start by rinsing them under cold water and removing any stems or ends. You can then choose whether to leave the beans whole, cut them into bite-sized pieces, or slice them lengthwise, depending on your preference. Blanching the beans prior to canning is also recommended, as it helps to preserve their color, texture, and flavor.

Preparing the Jars and Equipment
Selecting Appropriate Jars
To can green beans, you will need jars that are specifically designed for canning. Mason jars with two-part lids, including screw bands and snap lids, are a popular choice. It's important to use jars that are in good condition, free from cracks or chips. Additionally, ensure that the jars are the appropriate size for your needs, as using smaller or larger jars may affect the canning process.
Sterilizing Jars and Lids
Before canning, it's crucial to sterilize the jars and lids to prevent any bacterial contamination. Start by washing the jars and lids with hot, soapy water. Rinse them thoroughly, and then place them in a large pot of boiling water for about 10 minutes. Use jar tongs to remove the jars and lids from the boiling water, allowing them to air dry on a clean towel.
Blanching Green Beans for Canning
Why Blanching is Important
Blanching green beans before canning is an important step as it helps to preserve their color, texture, and flavor. Blanching involves briefly immersing the beans in boiling water, followed by an immediate plunge into ice water to stop the cooking process. This technique helps to preserve the beans' natural enzymes and nutrients while also eliminating any bacteria on the surface.
Blanching Process
To blanch green beans, bring a large pot of water to a rolling boil. Add the prepared green beans to the boiling water and cook for about 2-3 minutes, until they turn bright green. Avoid overcooking them, as this can result in mushy beans. After blanching, remove the beans from the boiling water and immediately place them in a bowl filled with ice water to cool rapidly. Once the beans are cooled, drain them thoroughly and they are ready for canning.

Hot Pack vs Cold Pack
Difference Between Hot Pack and Cold Pack
When canning green beans, you have the option to use either the hot pack or cold pack method. The hot pack method involves pre-cooking the green beans before placing them in the jars with hot liquid, while the cold pack method involves placing raw green beans directly into the jars and adding hot liquid. Both methods have their advantages and drawbacks, and the choice ultimately depends on personal preference.
Benefits and Drawbacks
The hot pack method is often preferred as it helps to ensure that the green beans are thoroughly heated throughout, reducing the risk of spoilage. Additionally, the hot pack method can result in more tender and flavorful green beans. However, this method requires additional time and effort as the beans need to be pre-cooked before canning.
On the other hand, the cold pack method is quicker and more straightforward, making it a popular choice for those looking for simplicity. However, cold-packed green beans may require longer processing times to ensure proper preservation, and the end result may be slightly less tender than those cooked using the hot pack method.
Discover how you can grow plenty of green beans and other vegetables in just a small backyard garden patch.
Adding Seasonings and Pickling Liquid
Enhancing Flavor
To add extra flavor to your canned green beans, you can include various seasonings and spices. Simple options include salt, black pepper, garlic, or onion powder. You can also experiment with more adventurous flavors such as red pepper flakes, dried herbs, or even a splash of vinegar for a tangy taste. Consider your personal preferences and the flavor profile of the dishes in which you plan to use the canned green beans.
Options for Pickling Liquid
If you prefer pickled green beans, you can create a pickling liquid to add to your jars. A basic pickling liquid consists of equal parts water and vinegar, along with salt and sugar to taste. You can customize the pickling liquid by adding spices or herbs such as dill, mustard seeds, or bay leaves for added flavor. The pickling liquid should be heated and brought to a boil before adding it to the jars.

Processing and Sealing the Jars
Water Bath Canning Method
The water bath canning method is suitable for canning green beans with a high acid content. To process the jars using the water bath method, place the filled jars into a large pot filled with boiling water, ensuring that there is enough water to cover the jars by at least one inch. Bring the water back to a boil, and then start the processing time according to the recipe and altitude guidelines. Once the processing time is complete, carefully remove the jars from the water bath and place them on a towel-lined countertop to cool.
Pressure Canning Method
The pressure canning method is necessary for canning green beans with a low acid content to prevent the growth of botulism-causing bacteria. To process the jars using the pressure canning method, place the filled jars onto a rack inside a pressure canner filled with the appropriate amount of water. Following the manufacturer's instructions, lock the lid in place and heat the canner until the vent pipe releases a steady stream of steam. Once this happens, allow for the required amount of pressure to build up before starting the processing time. Once the processing time is complete, turn off the heat and allow the pressure canner to cool naturally before opening the lid.
Storing and Labeling the Canned Green Beans
Proper Storage Conditions
After canning, it's important to store the canned green beans in a cool, dry place away from direct sunlight. The ideal storage temperature is between 50-70 degrees Fahrenheit, as higher temperatures can lead to spoilage. Check the jars regularly for any signs of spoilage such as mold or an abnormal odor. If a jar of canned green beans shows any signs of spoilage, it should be discarded immediately.
Labeling Guidelines
Properly labeling your jars is essential for easy identification and safe consumption. Label each jar with the contents (e.g., "Canned Green Beans"), the date of canning, and any additional information such as seasoning or pickling options used. This information will help you keep track of the age of the canned green beans and ensure that you use them before their optimal quality deteriorates.
Troubleshooting Common Issues
Spoilage and Botulism Concerns
When canning green beans, it's important to be aware of the risks of spoilage and botulism. Botulism is a rare but serious form of food poisoning that can be caused by improperly canned vegetables. To minimize the risk of botulism, ensure that all canning equipment is properly cleaned and sterilized, follow approved canning recipes and processing times, and check for signs of spoilage before consumption. If you notice any signs of spoilage, such as a bulging lid, mold, or an unusual odor, do not consume the contents of the jar.
Preventing Jar Breakage
Jar breakage can occur during the canning process, especially if there are chips or cracks in the glass. To prevent jar breakage, carefully inspect each jar before use, discarding any that are damaged. When placing the jars in the water bath or pressure canner, ensure that they are properly spaced and not touching each other or the sides of the pot. Additionally, allow the jars to cool naturally after processing to prevent rapid temperature changes that may cause breakage.
Conclusion
Canning green beans at home is a rewarding and cost-effective way to preserve the freshness and nutritional value of this versatile vegetable. By carefully selecting fresh beans, sterilizing jars and lids, blanching before canning, and using proper processing methods, you can enjoy the benefits of home-canned green beans throughout the year. Experiment with different seasonings and pickling liquids to add your own personal touch, and confidently store and label your jars for future use. So, roll up your sleeves, grab some fresh green beans, and start canning your way to delicious and nutritious meals.

Check out the latest and most popular pressure canners on Amazon HERE!
Amazon-affiliated link.
