If you’re a fan of crispy chicken wings that pack a punch of flavor, you’re in for a treat! These 12 savory air fryer recipes will take your wing game up a notch without the mess of deep frying. From classic buffalo to sweet and tangy glazes, we’ve got a variety of options to satisfy your cravings while keeping it easy and fun in the kitchen. So grab your air fryer and let’s get cooking!
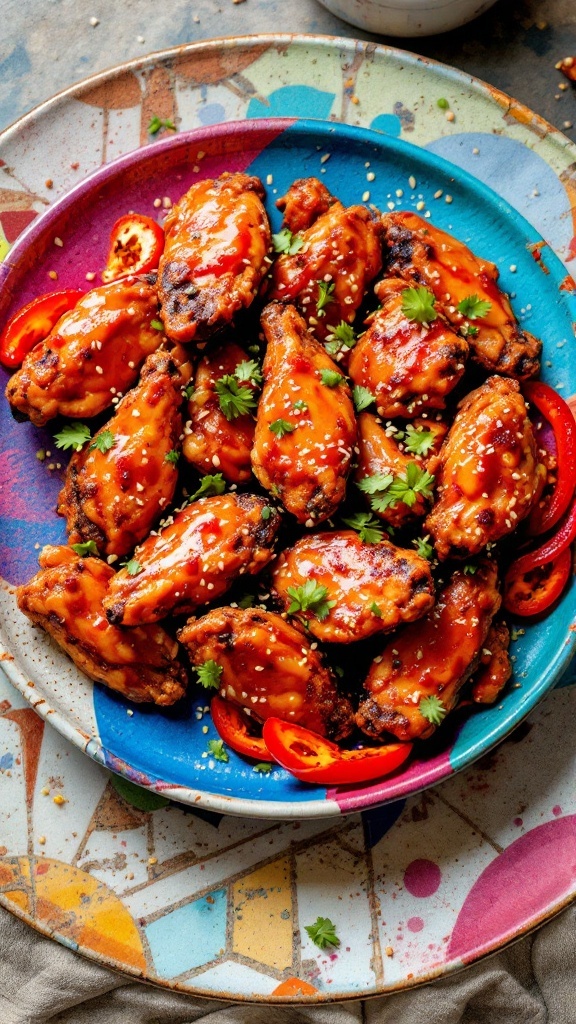
Chipotle Lime Wings

Chipotle lime wings are a delightful combination of smoky and zesty flavors that will make your taste buds dance. This recipe is not only easy to follow, but it also delivers bold taste with minimal effort, perfect for a casual gathering or game day.
The tangy lime juice pairs beautifully with the warm spice of chipotle, creating a finger-licking experience. Air frying these wings gives them that crispy exterior while keeping the meat tender and juicy inside. Get ready to enjoy a flavorful bite!
Ingredients
- 2 pounds chicken wings
- 1/4 cup lime juice
- 2 tablespoons chipotle sauce
- 1 tablespoon olive oil
- 1 teaspoon garlic powder
- 1 teaspoon onion powder
- 1 teaspoon smoked paprika
- 1 teaspoon salt
- 1/2 teaspoon black pepper
- Fresh cilantro, chopped (for garnish)
Instructions
- Prepare the Marinade: In a large bowl, combine lime juice, chipotle sauce, olive oil, garlic powder, onion powder, smoked paprika, salt, and black pepper. Mix well to create the marinade.
- Marinate the Wings: Add the chicken wings to the bowl and toss to coat evenly. Cover and let them marinate in the refrigerator for at least 30 minutes, or up to 2 hours for deeper flavor.
- Preheat the Air Fryer: Preheat your air fryer to 400°F (200°C) for about 5 minutes.
- Air Fry the Wings: Arrange the marinated wings in a single layer in the air fryer basket. Cook for 20-25 minutes, flipping halfway through, until they are crispy and cooked through.
- Serve: Once cooked, remove the wings from the air fryer and garnish with chopped cilantro before serving. Enjoy with your favorite dipping sauce!
Spicy Buffalo Wings

Spicy Buffalo wings are a classic favorite that pack a flavorful punch. These wings are crispy on the outside, juicy on the inside, and coated in a tangy, hot sauce that brings just the right amount of heat. They're easy to make in an air fryer, making them a go-to for quick weeknight dinners or game day snacks.
With just a few ingredients, you can whip up a batch of these spicy wings in no time. Serve them with a side of creamy ranch or blue cheese dressing, alongside crunchy celery sticks for a delightful crunch. Get ready to dig in!
Ingredients
- 2 pounds chicken wings
- 1 tablespoon olive oil
- 1 teaspoon garlic powder
- 1 teaspoon onion powder
- 1/2 teaspoon paprika
- 1/2 teaspoon cayenne pepper (adjust to taste)
- 1/2 teaspoon salt
- 1/2 cup hot sauce (like Frank's RedHot)
- 2 tablespoons unsalted butter, melted
Instructions
- Preheat your air fryer to 400°F (200°C).
- In a large bowl, combine the chicken wings, olive oil, garlic powder, onion powder, paprika, cayenne pepper, and salt. Toss until the wings are evenly coated.
- Arrange the wings in a single layer in the air fryer basket. Cook for 25-30 minutes, shaking the basket halfway through to ensure even cooking.
- While the wings are cooking, mix the hot sauce and melted butter in a small bowl.
- Once the wings are crispy and cooked through, remove them from the air fryer and toss them in the hot sauce mixture until well coated.
- Serve with ranch or blue cheese dressing and celery sticks on the side.
BBQ Ranch Chicken Wings

BBQ Ranch Chicken Wings are a delicious blend of flavors that brings a bit of tangy goodness to your meal. The combination of BBQ sauce and ranch seasoning creates a zesty, savory glaze that perfectly coats each crispy wing. These wings are not only tasty but also simple to prepare, making them a great choice for any gathering or a cozy night in.
Cooking them in an air fryer gives the wings a satisfying crunch without excessive oil. They come out beautifully crisp on the outside while remaining juicy on the inside. Serve them up with some fresh veggies and a side of ranch dressing for dipping, and you have a delightful dish that will please everyone!
Ingredients
- 2 pounds chicken wings
- 1/2 cup BBQ sauce
- 1 packet ranch seasoning mix
- 1 tablespoon olive oil
- Salt and pepper to taste
- Fresh parsley for garnish
Instructions
- Prep the Wings: Pat the chicken wings dry with paper towels and place them in a bowl. Drizzle with olive oil, then add the ranch seasoning and mix well until evenly coated.
- Air Fry: Preheat the air fryer to 380°F (190°C). Arrange the chicken wings in a single layer in the air fryer basket. Cook for about 25-30 minutes, flipping halfway through, until they are crispy and cooked through.
- Coat with BBQ Sauce: In the last 5 minutes of cooking, brush the wings with BBQ sauce to create a sticky, flavorful glaze.
- Serve: Once cooked, remove the wings from the air fryer and let them rest for a few minutes. Serve with extra BBQ sauce, ranch dressing, and fresh veggies for dipping.
Crispy Garlic Parmesan Wings

Crispy Garlic Parmesan Wings are a delightful twist on classic chicken wings, featuring a rich garlic flavor paired with the savory taste of parmesan cheese. The air fryer makes these wings super crispy without the need for deep frying, making them a healthier option for wing lovers. Simple to prepare, these wings are perfect for game day, parties, or a cozy night in.
With just a few ingredients, you can whip up a batch that will have everyone coming back for seconds. The combination of garlic, butter, and parmesan creates a mouthwatering coating that clings to each wing, ensuring every bite is packed with flavor. Plus, they’re easy to customize with your favorite herbs and spices.
Ingredients
- 2 pounds chicken wings
- 1 tablespoon olive oil
- 1 teaspoon garlic powder
- 1 teaspoon onion powder
- 1/2 teaspoon salt
- 1/2 teaspoon black pepper
- 1/2 cup grated parmesan cheese
- 2 tablespoons fresh parsley, chopped
- 3 tablespoons butter, melted
Instructions
- Preheat your air fryer to 400°F (200°C).
- In a large bowl, combine chicken wings, olive oil, garlic powder, onion powder, salt, and black pepper. Toss until wings are well coated.
- Arrange wings in a single layer in the air fryer basket. Cook for 25-30 minutes, shaking the basket halfway through.
- While the wings are cooking, mix melted butter and parmesan cheese in a separate bowl.
- Once wings are crispy and golden, remove from the air fryer and immediately toss them in the butter and parmesan mixture.
- Garnish with fresh parsley before serving. Enjoy your deliciously crispy garlic parmesan wings!
Lemon Pepper Wings

Lemon pepper wings are a delightful twist on classic chicken wings, combining zesty lemon flavor with a hint of peppery spice. The bright citrus notes create a refreshing contrast with the savory chicken, making each bite a treat for your taste buds. Plus, making these wings in the air fryer is a breeze, resulting in a crispy exterior without the need for excess oil.
This recipe is not only simple to follow but also quick, making it perfect for game-day snacking or a casual weeknight dinner. With just a few ingredients, you can whip up a batch of lemon pepper wings that everyone will love!
Ingredients
- 2 pounds chicken wings
- 2 tablespoons olive oil
- 1 tablespoon lemon zest
- 2 tablespoons lemon juice
- 1 teaspoon black pepper
- 1 teaspoon garlic powder
- 1 teaspoon salt
- 1 teaspoon onion powder
- Fresh parsley, chopped (for garnish)
Instructions
- Prepare the Wings: In a large bowl, combine chicken wings with olive oil, lemon zest, lemon juice, black pepper, garlic powder, salt, and onion powder. Toss until the wings are evenly coated.
- Preheat the Air Fryer: Preheat your air fryer to 400°F (200°C).
- Air Fry the Wings: Arrange the seasoned wings in a single layer in the air fryer basket. Cook for 25-30 minutes, flipping halfway through, until the wings are crispy and golden brown.
- Garnish and Serve: Once cooked, remove the wings from the air fryer and garnish with fresh parsley. Serve with your favorite dipping sauce, and enjoy!
Honey Mustard Glazed Wings
If you're looking for a finger-licking chicken wing recipe that balances sweet and tangy flavors, honey mustard glazed wings are a fantastic choice. The honey adds a rich sweetness, while the mustard provides a zesty kick, making it a delightful experience in every bite.
This recipe is not only delicious but also super simple to whip up. Using an air fryer makes it easy to achieve that crispy texture without deep frying, so you can enjoy your wings without the extra grease. Perfect for game days or a casual dinner, these wings are sure to please everyone!
Ingredients
- 2 pounds chicken wings
- 1/4 cup honey
- 1/4 cup Dijon mustard
- 2 tablespoons olive oil
- 1 teaspoon garlic powder
- 1 teaspoon paprika
- Salt and pepper to taste
Instructions
- Prepare the Wings: In a large bowl, combine the honey, Dijon mustard, olive oil, garlic powder, paprika, salt, and pepper. Add the chicken wings and toss until they're well coated.
- Preheat the Air Fryer: Preheat your air fryer to 375°F (190°C) for about 5 minutes.
- Cook the Wings: Place the wings in a single layer in the air fryer basket. You may need to cook them in batches. Cook for 25-30 minutes, flipping halfway through, until they are golden brown and crispy.
- Serve: Once cooked, remove the wings and toss them in any remaining glaze. Serve hot and enjoy!
Teriyaki Chicken Wings
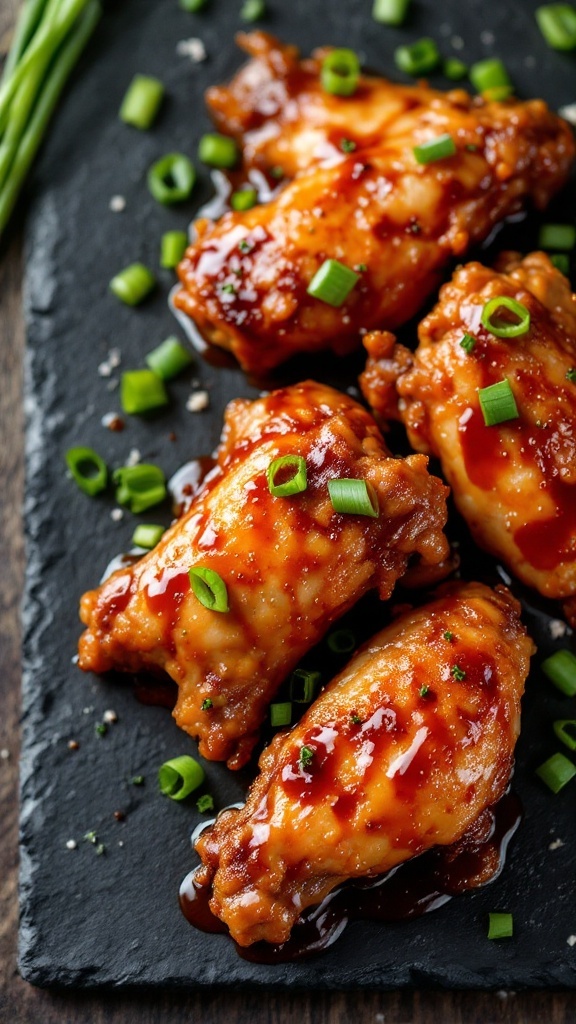
Teriyaki chicken wings offer a delightful blend of sweet and savory flavors that are sure to impress. The sticky glaze, made from soy sauce and honey, caramelizes beautifully in the air fryer, giving the wings that irresistible shine and taste.
Plus, preparing these wings is straightforward, making them a go-to recipe for anyone wanting to elevate their chicken game without much fuss. Whether for a party or a cozy night in, teriyaki wings are a crowd-pleaser!
Ingredients
- 2 pounds chicken wings
- 1/2 cup soy sauce
- 1/4 cup honey
- 2 tablespoons rice vinegar
- 1 tablespoon sesame oil
- 2 cloves garlic, minced
- 1 teaspoon ground ginger
- Green onions, for garnish
- Sesame seeds, for garnish
Instructions
- Prepare the Marinade: In a bowl, whisk together soy sauce, honey, rice vinegar, sesame oil, garlic, and ginger.
- Marinate the Wings: Place chicken wings in a large resealable bag and pour the marinade over them. Seal the bag and refrigerate for at least 30 minutes, or up to overnight for deeper flavor.
- Preheat the Air Fryer: Set your air fryer to 380°F (190°C) and let it preheat for about 5 minutes.
- Cook the Wings: Remove the wings from the marinade and arrange them in a single layer in the air fryer basket. Cook for 25-30 minutes, flipping halfway through until golden and cooked through.
- Glaze the Wings: In the last few minutes of cooking, brush the wings with the reserved marinade for added flavor and stickiness.
- Serve: Once cooked, garnish the wings with chopped green onions and sesame seeds before serving.
Sweet Chili Wings
Sweet chili wings are a delightful treat that combines the perfect balance of sweetness and heat. These wings are coated in a sticky, flavorful glaze that’s sure to please everyone at your table. Plus, making them in the air fryer keeps them crispy without the extra oil, making it a simple and healthier option!
The rich, tangy flavor of sweet chili sauce pairs beautifully with tender chicken wings, creating a dish that is both satisfying and fun. Whether it’s game day or just an ordinary weeknight, these wings are quick to prepare and will have everyone coming back for more!
Ingredients
- 2 pounds chicken wings
- 1/2 cup sweet chili sauce
- 2 tablespoons soy sauce
- 1 tablespoon honey
- 1 tablespoon rice vinegar
- 1 teaspoon garlic powder
- 1 teaspoon ginger powder
- 1/2 teaspoon black pepper
- Sesame seeds and chopped green onions for garnish
Instructions
- Prepare the Wings: Pat the chicken wings dry with paper towels. This helps to ensure they get crispy in the air fryer.
- Make the Marinade: In a bowl, mix together sweet chili sauce, soy sauce, honey, rice vinegar, garlic powder, ginger powder, and black pepper.
- Marinate: Add the wings to the bowl and toss to coat them evenly with the sauce. Let them marinate for at least 30 minutes, or longer if you have time.
- Air Fry: Preheat your air fryer to 380°F (190°C). Place the wings in a single layer in the basket, and cook for about 25-30 minutes, shaking the basket halfway through.
- Garnish and Serve: Once the wings are crispy and cooked through, remove them from the air fryer. Drizzle with extra sweet chili sauce if desired, and garnish with sesame seeds and chopped green onions before serving.
Mediterranean Herb Wings
If you're looking for a delightful twist on traditional chicken wings, Mediterranean Herb Wings are a fantastic choice. With their vibrant flavors and aromatic herbs, these wings offer a fresh taste that’s both satisfying and light. They are easy to make, perfect for gatherings or a cozy night in.
The blend of herbs like oregano, thyme, and garlic creates a savory profile that pairs beautifully with the crispy texture from the air fryer. Plus, they come together quickly, making them an ideal option for busy weeknights or impromptu get-togethers.
Ingredients
- 2 pounds chicken wings
- 2 tablespoons olive oil
- 1 teaspoon dried oregano
- 1 teaspoon dried thyme
- 4 cloves garlic, minced
- 1 lemon, juiced
- Salt and pepper to taste
- Fresh parsley, for garnish
Instructions
- Prep the Marinade: In a large bowl, mix olive oil, oregano, thyme, minced garlic, lemon juice, salt, and pepper.
- Add Chicken: Toss the chicken wings in the marinade until well coated. Allow them to marinate for at least 30 minutes, or up to 2 hours for deeper flavor.
- Preheat Air Fryer: Preheat your air fryer to 380°F (193°C) for about 5 minutes.
- Cook Wings: Place the marinated wings in a single layer in the air fryer basket. Cook for 25-30 minutes, flipping halfway through, until they are golden brown and crispy.
- Garnish and Serve: Remove wings from the air fryer, sprinkle with fresh parsley, and serve hot. Enjoy your Mediterranean feast!
Buffalo Ranch Wings

Buffalo Ranch Wings are a tasty twist on the classic buffalo wing, combining the spicy zing of buffalo sauce with the creamy, herby flavor of ranch dressing. This recipe is quick and easy, making it a great choice for game days, gatherings, or any night you crave something delicious.
The air fryer brings a crispiness that rivals deep frying but with less oil, making these wings a healthier option without sacrificing taste. Serve them hot with extra ranch on the side for dipping, and watch them disappear!
Ingredients
- 2 pounds chicken wings
- 1/2 cup buffalo sauce
- 1/2 cup ranch dressing
- 1 tablespoon olive oil
- 1 teaspoon garlic powder
- 1 teaspoon onion powder
- Salt and pepper to taste
- Fresh parsley, chopped (for garnish)
Instructions
- Prepare the Wings: Rinse the chicken wings in cold water and pat them dry with paper towels. This helps them crisp up nicely in the air fryer.
- Season: In a large bowl, toss the wings with olive oil, garlic powder, onion powder, salt, and pepper until evenly coated.
- Air Fry: Preheat the air fryer to 400°F (200°C). Place the wings in the fryer basket in a single layer, making sure they’re not overcrowded. Cook for about 25-30 minutes, flipping halfway through, until they are golden brown and crispy.
- Coat in Sauce: In a clean bowl, toss the cooked wings with buffalo sauce until they are well coated.
- Serve: Drizzle ranch dressing over the wings or serve it on the side for dipping. Garnish with fresh parsley and enjoy!
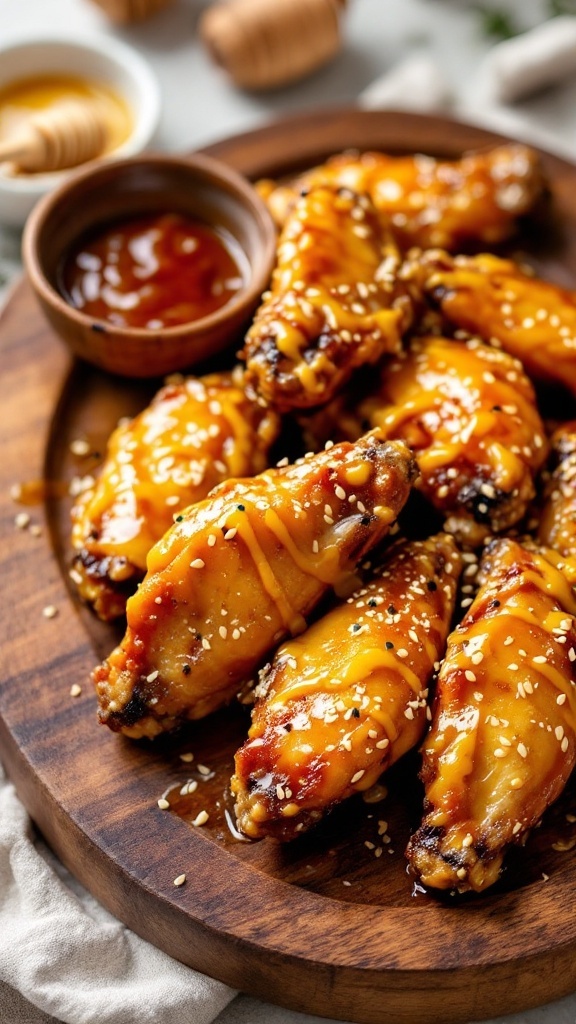
Maple Chipotle Wings

Maple Chipotle Wings are a delightful blend of sweet and spicy, making them a favorite for any gathering. The maple syrup adds a touch of sweetness while the chipotle peppers bring a smoky heat that perfectly complements the crispy chicken wings. This recipe is super simple, requiring minimal ingredients and minimal effort, yet delivering big flavor with every bite.
These wings are not only easy to prepare in an air fryer, they cook up beautifully with a crispy exterior and juicy interior. Ideal for game day, parties, or a cozy night in, these wings are sure to please everyone at the table. Let’s dive into the ingredients and instructions to whip up this tasty dish!
Ingredients
- 2 pounds chicken wings
- 1/4 cup maple syrup
- 2 tablespoons chipotle sauce
- 2 tablespoons olive oil
- 1 teaspoon garlic powder
- 1 teaspoon onion powder
- Salt and pepper to taste
- Fresh cilantro for garnish
Instructions
- Prepare the Chicken: In a large bowl, combine the chicken wings with olive oil, garlic powder, onion powder, salt, and pepper. Toss to coat evenly.
- Mix the Sauce: In a separate bowl, whisk together the maple syrup and chipotle sauce until well combined.
- Coat the Wings: Pour the sauce over the chicken wings, ensuring they are evenly coated. Let them marinate for about 30 minutes for enhanced flavor.
- Air Fry the Wings: Preheat your air fryer to 400°F (200°C). Place the wings in a single layer in the air fryer basket. Cook for 25-30 minutes, flipping halfway through, until they are crispy and cooked through.
- Serve: Once cooked, remove the wings from the air fryer and garnish with fresh cilantro. Serve them warm and enjoy!
Cajun Spiced Wings

If you’re looking to add a little zing to your chicken wings, Cajun spiced wings are a fantastic choice. This recipe brings the bold flavors of Cajun seasoning right to your air fryer, making it a quick and easy way to enjoy a delicious meal. The spicy, smoky notes perfectly complement the juicy chicken, creating a dish that’s both satisfying and full of flavor.
What’s great about making these wings in the air fryer is the crispiness you can achieve without deep frying. With just a few ingredients and simple steps, you’ll have a delightful platter of wings that’s perfect for game day or any gathering with friends. Serve with your favorite dipping sauce for an even more enjoyable experience!
Ingredients
- 2 pounds chicken wings
- 2 tablespoons olive oil
- 2 teaspoons Cajun seasoning (adjust for spice preference)
- 1 teaspoon garlic powder
- 1 teaspoon onion powder
- 1/2 teaspoon smoked paprika
- Salt and pepper to taste
- Fresh parsley for garnish
- Your favorite dipping sauce (ranch or blue cheese)
Instructions
- Prepare the Wings: In a large bowl, toss the chicken wings with olive oil, Cajun seasoning, garlic powder, onion powder, smoked paprika, salt, and pepper until evenly coated.
- Preheat the Air Fryer: Preheat your air fryer to 380°F (190°C) for about 5 minutes.
- Cook the Wings: Place the seasoned wings in a single layer in the air fryer basket. Cook for 25-30 minutes, shaking the basket halfway through to ensure even cooking.
- Check for Crispiness: After cooking, if you desire extra crispiness, increase the temperature to 400°F (200°C) and cook for an additional 5 minutes.
- Serve: Once done, remove the wings from the air fryer and garnish with fresh parsley. Serve hot with your favorite dipping sauce.